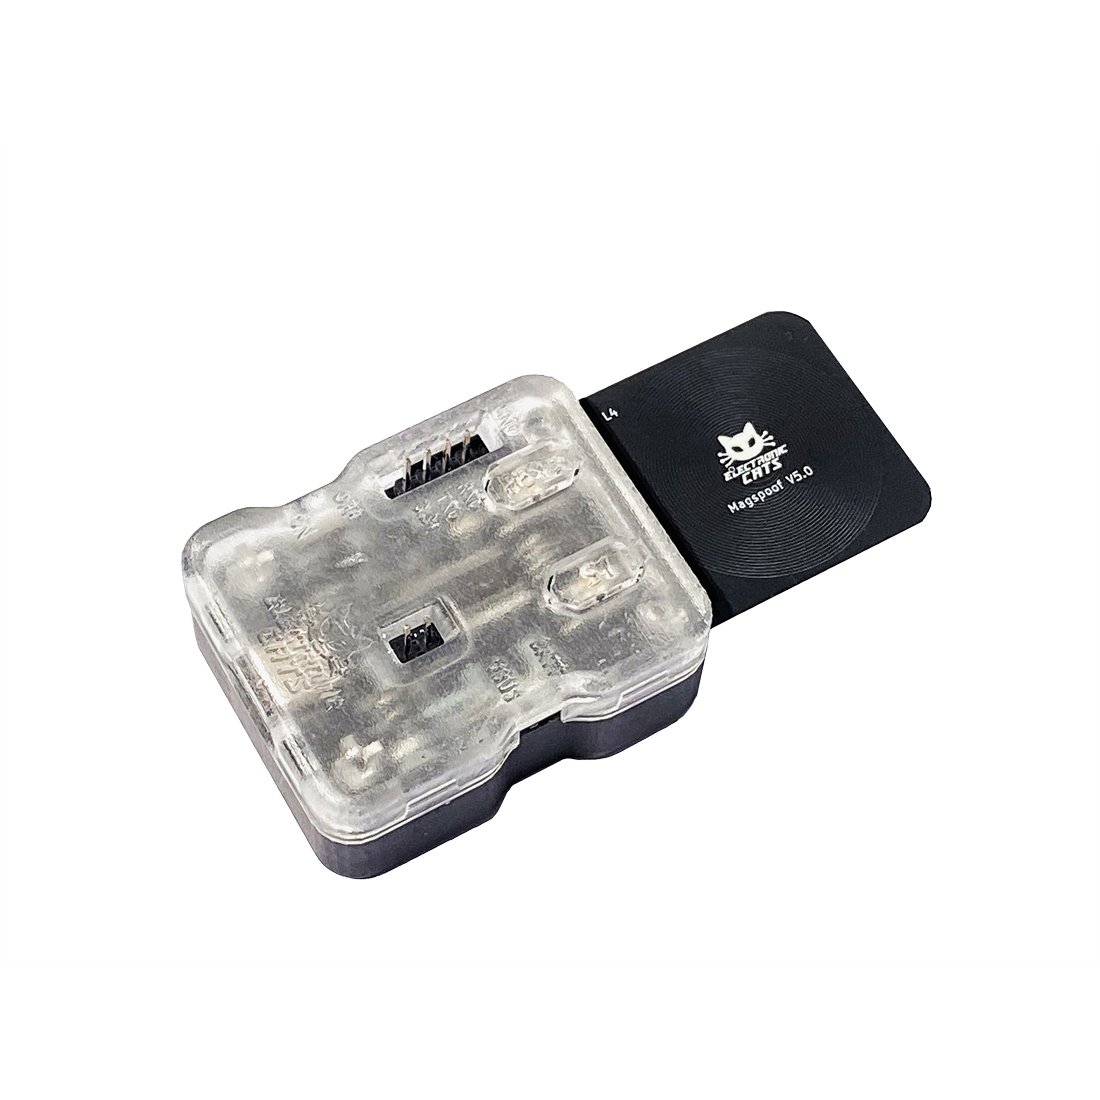

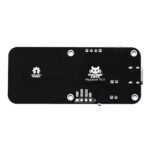
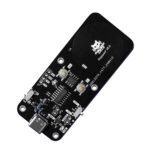
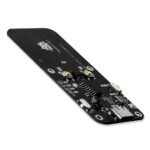
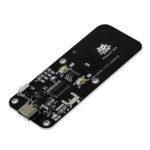
MagSpoof V5
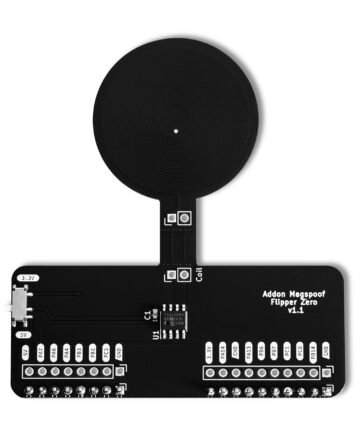
Read a card's magstripe tracks, save them to the board, and replay them wirelessly through the built-in antenna — on systems you're authorized to test.
$35.00 – $100.00Price range: $35.00 through $100.00
- External magstripe readers, wired to the UART pins
- USB-C for power and CLI · UART reader · SWD programming
- Preloaded Serial CLI firmware, auto-starts on power-up
- Web Serial Client in the browser, or PuTTY / Minicom
In the box
Preloaded Serial CLI firmware — auto-starts on power-up, no flashing needed to begin
Card reader variant only: magnetic stripe card reader that connects to the board over serial
Not included
You also need
A single-cell Li-Ion/LiPo battery, if you want to run it away from USB
A browser for the MagSpoof Web Serial Client, or a serial terminal (PuTTY on Windows, Minicom on Linux/macOS)
A card, reader or terminal you are authorized to test
- 115 GitHub Stars
- Designed and built in Aguascalientes, Mexico
- Hardware CERN-OHL v1.2 · firmware AGPL-3.0
Audit a magstripe reader or POS terminal you are authorized to test
Work a site visit with a phone instead of a laptop
Run a hands-on magstripe workshop or class
Start in 10 minutes
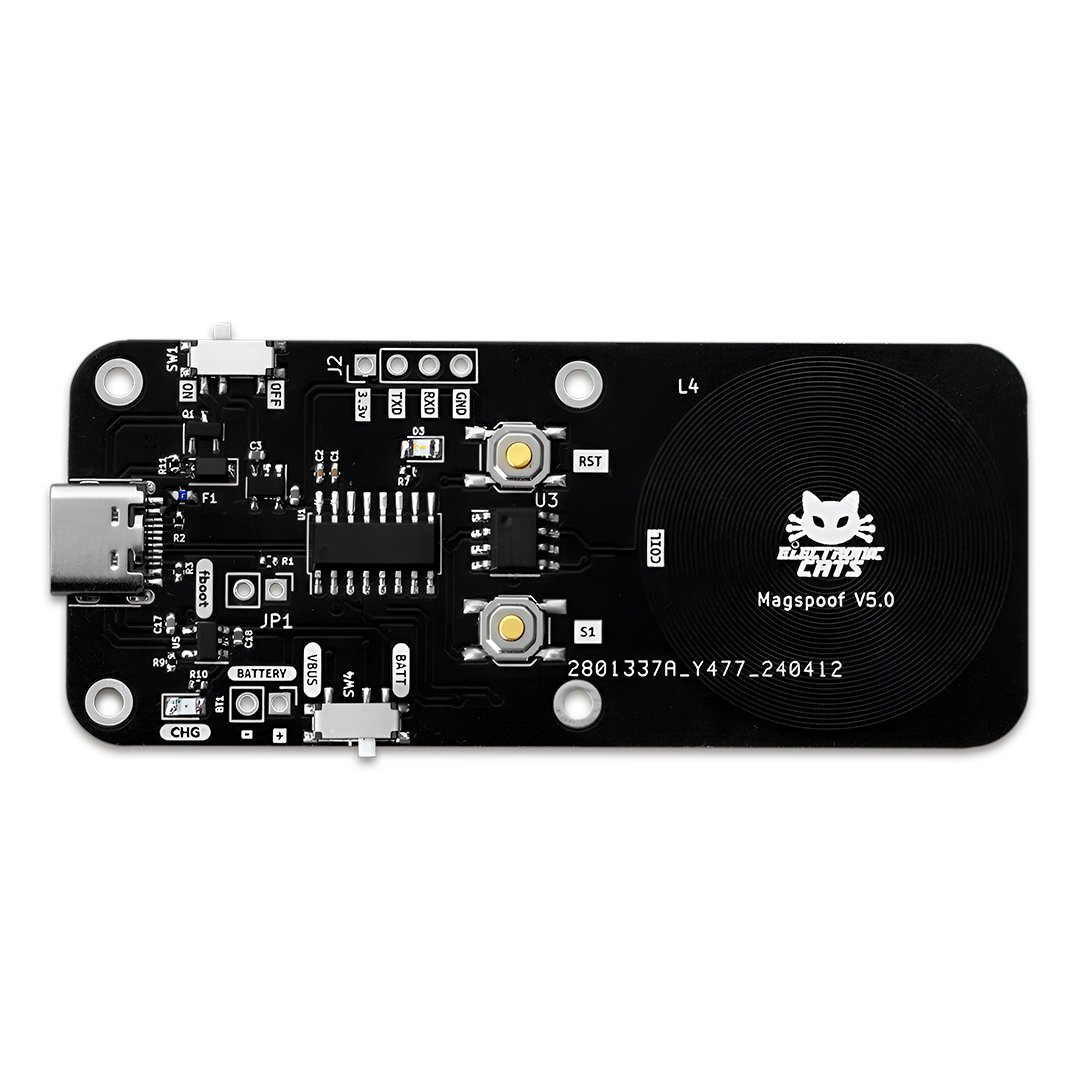
- Set the power-source switch (SW4) to VBUS (USB) or BATT (battery), then flip the ON/OFF switch (SW1) to ON.
- Get the card’s track data: swipe it through an external magstripe reader and save it to a notes app on your PC, or — on MagSpoof V5 — wire the reader straight to the UART pins and read the track onto the board.
- Identify and complete the Track 1 / Track 2 fields (start sentinel, PAN, name, expiration, service code, discretionary data, end sentinel, LRC) with the magstripe Format B structure — the wiki walks the fields one by one.
- Save and play the tracks over the Serial CLI (
sto save,p1/p2/pto play) from a serial terminal — PuTTY on Windows, Minicom on Linux/macOS — or from the browser with the MagSpoof Web Serial Client.
| Board | Standard, Extra Rigid |
|---|---|
| Microcontroller | CH552G — enhanced E8051 core, MCS51 instruction set, up to 24 MHz |
| Memory | 1 KB xRAM · 256 B iRAM |
| Power | Single-cell Li-Ion/LiPo battery or USB-C · 3.3 V I/O (never apply more than 3.3 V to digital/analog pins) |
| Dimensions | 32.5 mm (width) × 76.5 mm (length) |
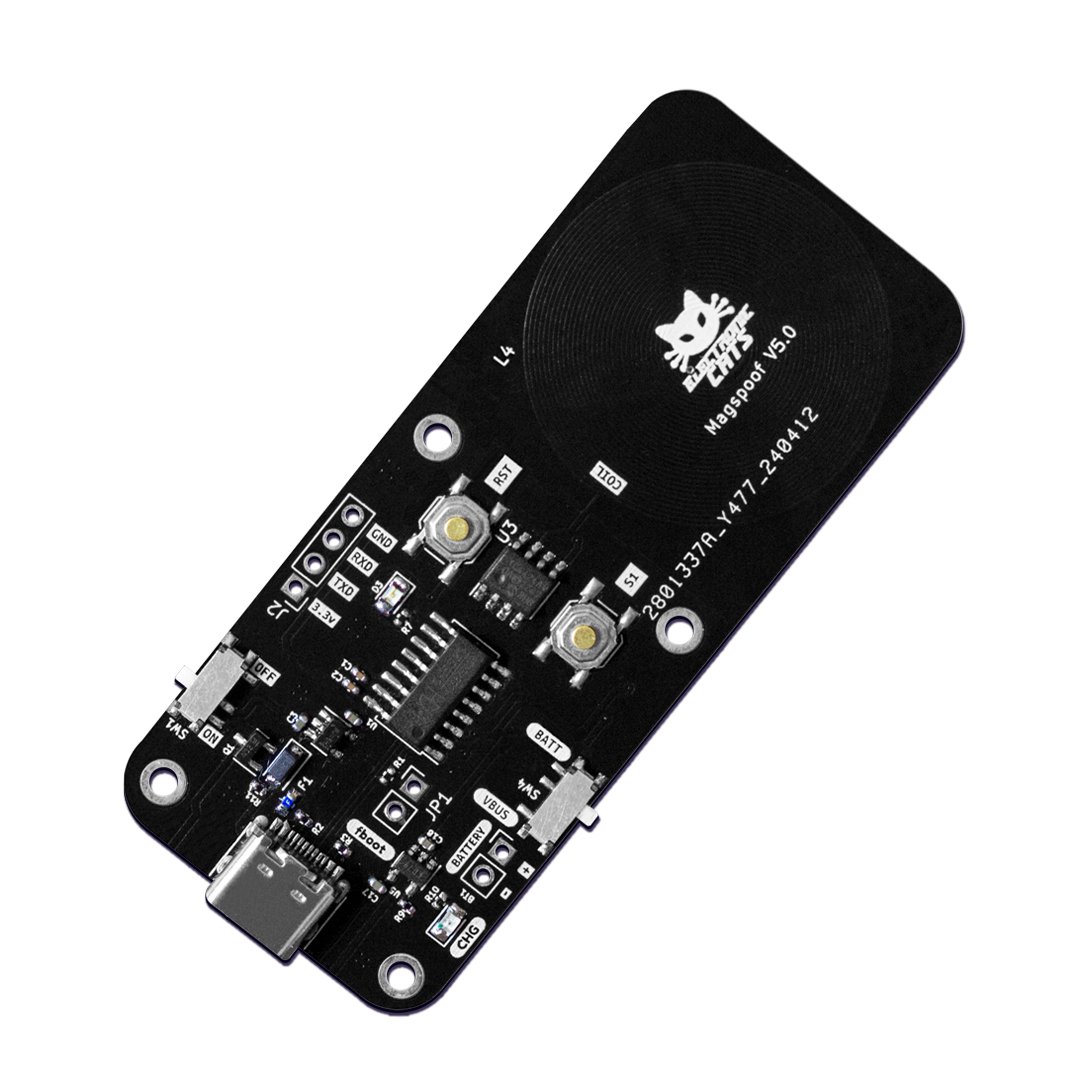
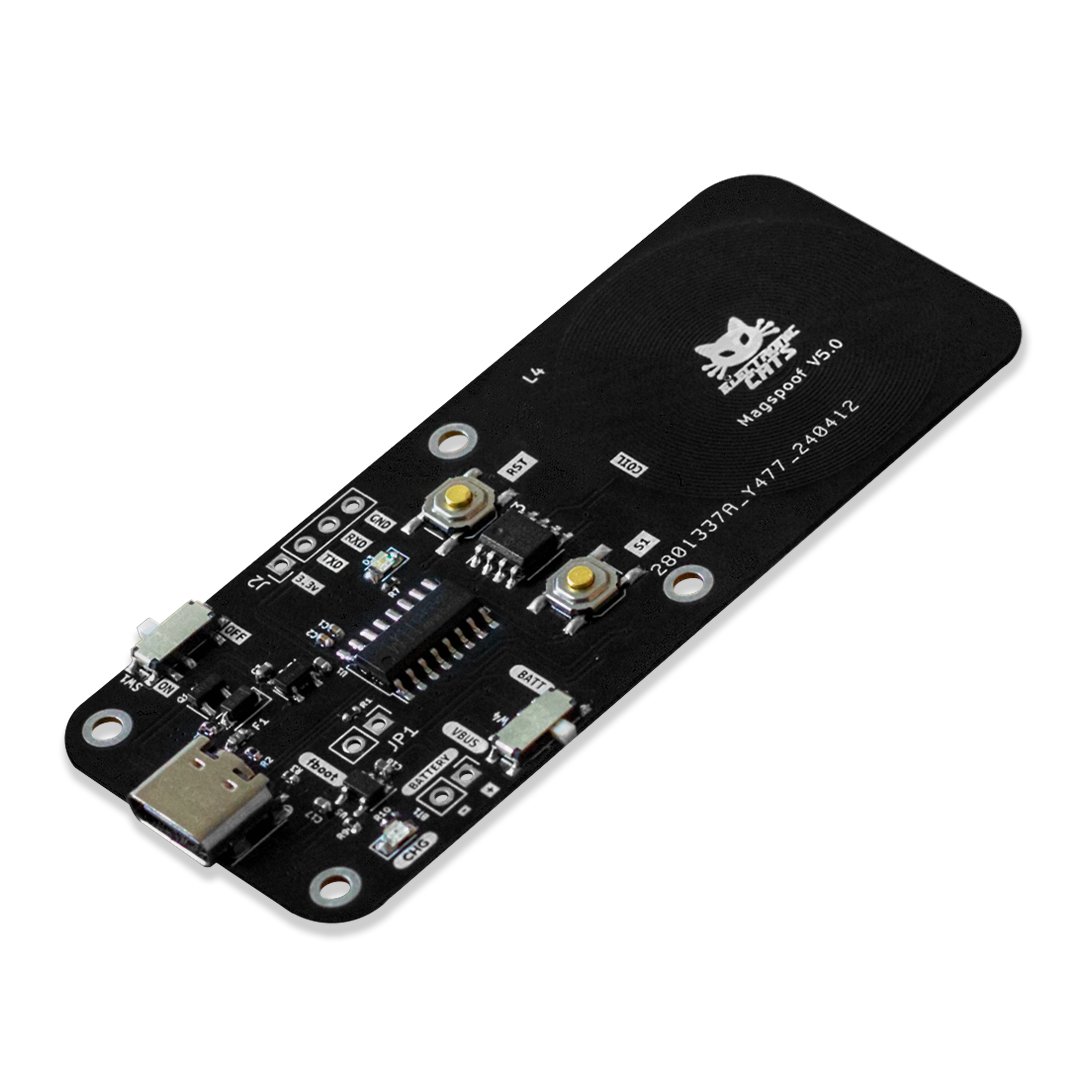
| Connectors & controls | USB-C · UART pins · SWD pins · battery pins · coil pins · status LED · CHRG LED · ON/OFF switch (SW1) · BATT/VBUS switch (SW4) |
| Antenna / coil | Integrated into the PCB since the v5.0.0 refactor |
| Magstripe tracks | Track 1 and Track 2, Format B — transmitted sequentially, not simultaneously |
| Default firmware | Preloaded Serial CLI, auto-starts on power-up (h · s · p1/p2/p · l · d · e) |
| Latest firmware release | v5.5.2.0 (2024-07-16) |
| Programming | Arduino IDE — CH55xDuino (WCH CH55x MCS51) board core |
| OS support | Windows · macOS · Linux (Windows also needs the Zadig USB driver for bootloader mode) |
| Licenses | Firmware GNU AGPL v3.0 · Hardware CERN OHL v1.2 |
| Feature | MagSpoof V5 (current) | MagSpoof V4 | MagSpoof V3 (retired) |
|---|---|---|---|
| Microcontroller | CH552G | CH552G | Atmel SAMD11 (32-bit ARM Cortex-M0+) |
| Antenna / coil | Integrated into the PCB (v5.0.0 refactor, smaller board) | Coil pins on the board | 24AWG magnet wire coil |
| Firmware | Serial CLI (magspoof_V5.ino) — read, save, play, no code edits | Serial CLI (magspoof_V5.ino) — no code edits | Standalone sketch (magspoofV3.ino) — tracks hard-coded in the source |
| Getting track data in | External reader wired to the on-board UART pins | External reader connected to a PC to capture the track first | Type the track into the Arduino source and upload |
| EEPROM programming access for tracks | Yes | Not listed as a feature | No CLI |
| Console commands from a smartphone | Yes, over USB-Serial | Not offered as a feature | No CLI |
| Bootloader mode | Short the JP1 pads (same process as V4) | Short the JP1 pads | Double-tap the RST button |
Does MagSpoof work over NFC or RFID (13.56 MHz or 125 kHz)?
Do I need to know how to code?
What is the difference between MagSpoof V5 and MagSpoof V4?
What am I allowed to use MagSpoof for?
You may also like…