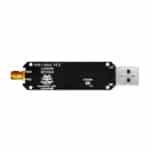
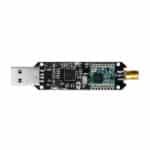
CatWAN USB Stick
A USB dongle that captures LoRa and LoRaWAN traffic over the air for authorized testing, without touching the software on the devices you monitor.
$45.00 Original price was: $45.00.$35.00Current price is: $35.00.
- The Things Network (TTN) and standard LoRaWAN networks
- LoRa Sniffer open-source desktop app for network analysis
- Windows, macOS and Linux hosts over USB serial
- Arduino IDE to compile and flash custom firmware
In the box
Not included
You also need
- 50 GitHub Stars
- Designed and built in Aguascalientes, Mexico
- Hardware CERN-OHL v1.2 · firmware GPL-3.0
What is the CatWAN USB Stick?
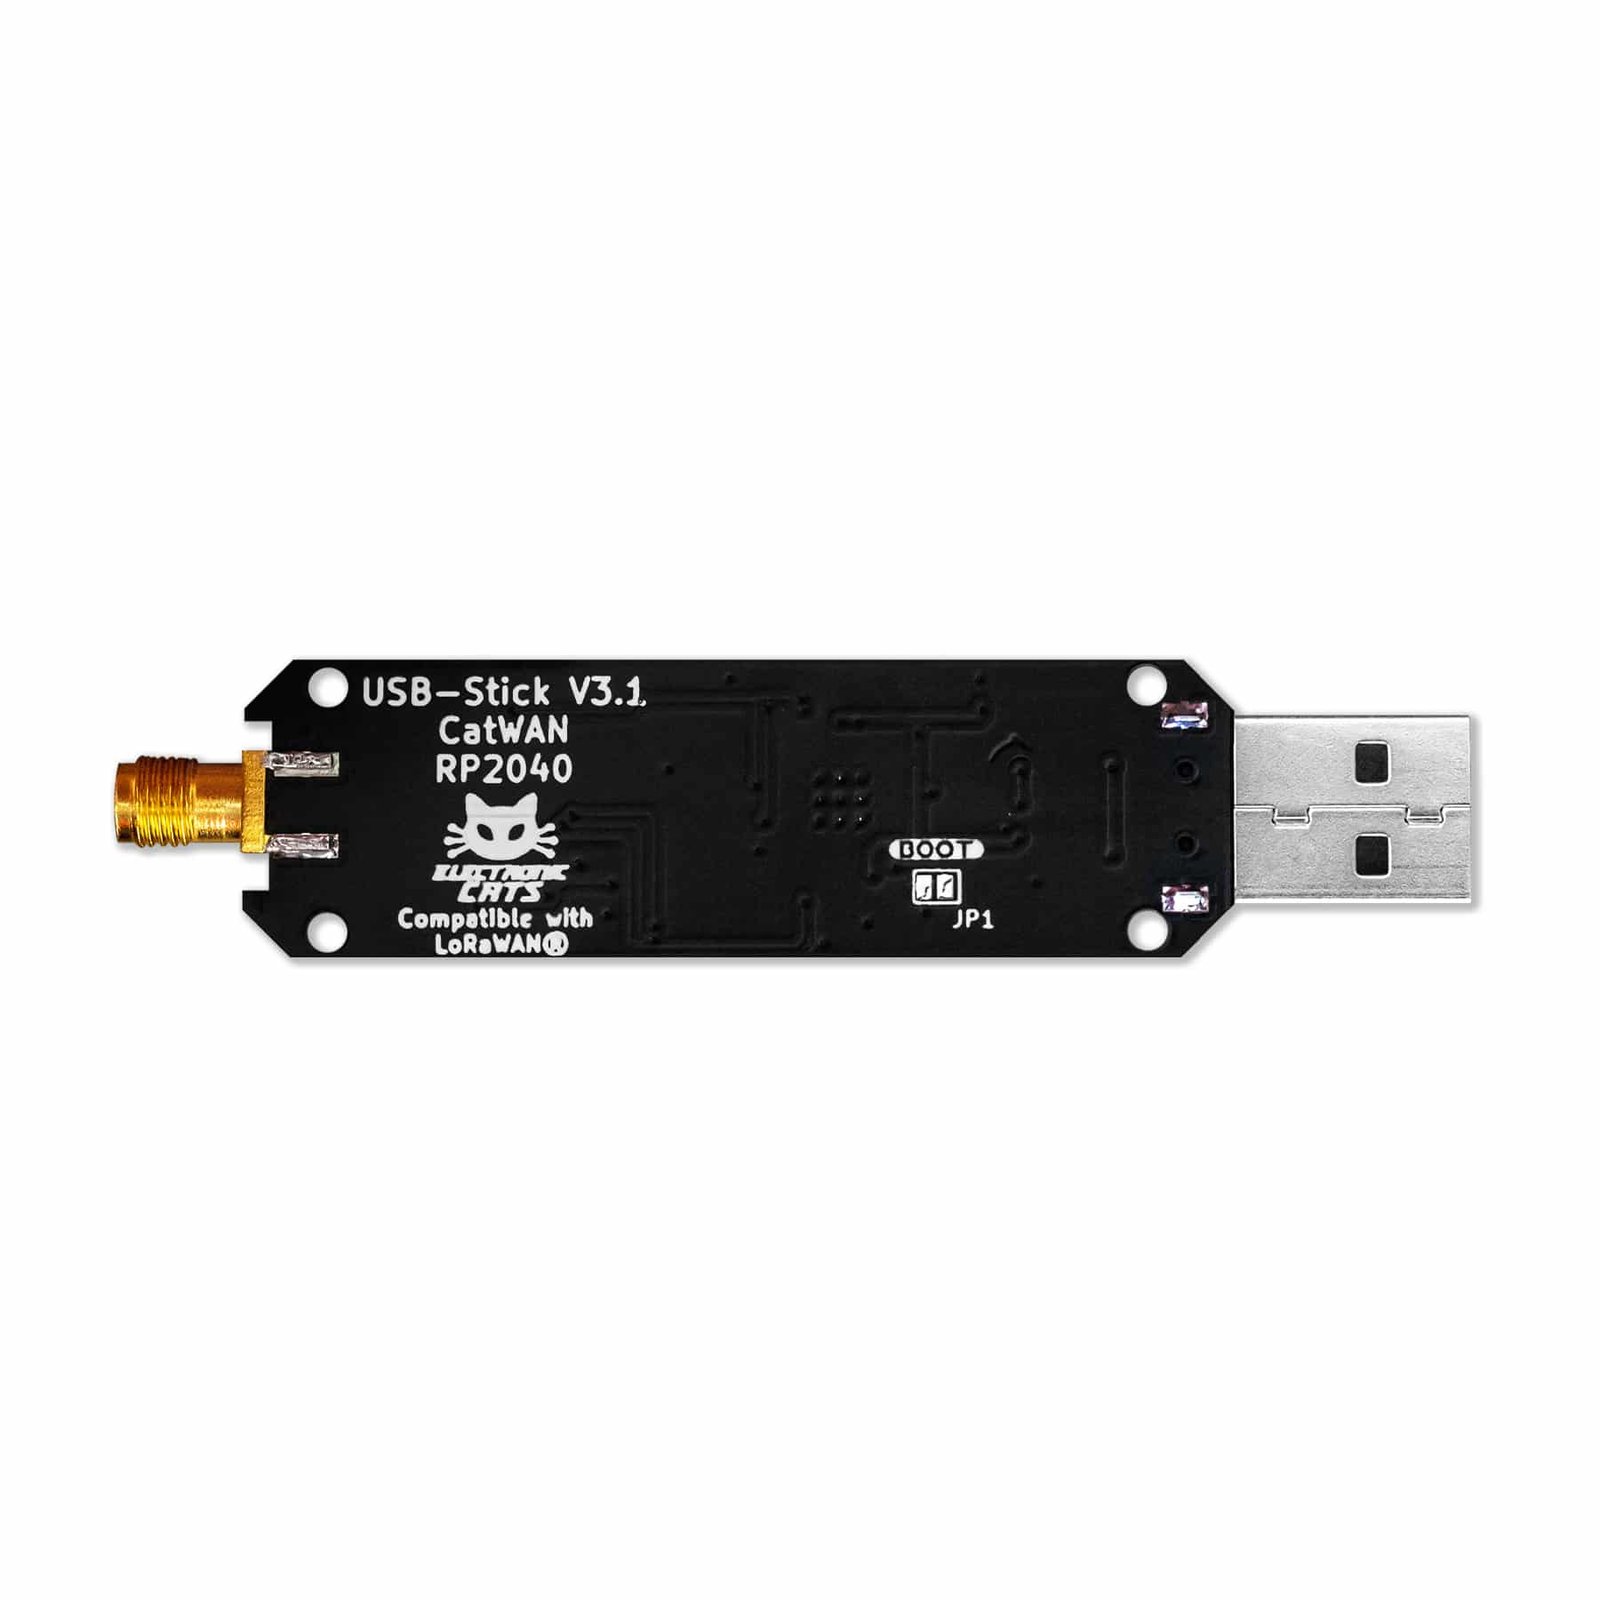
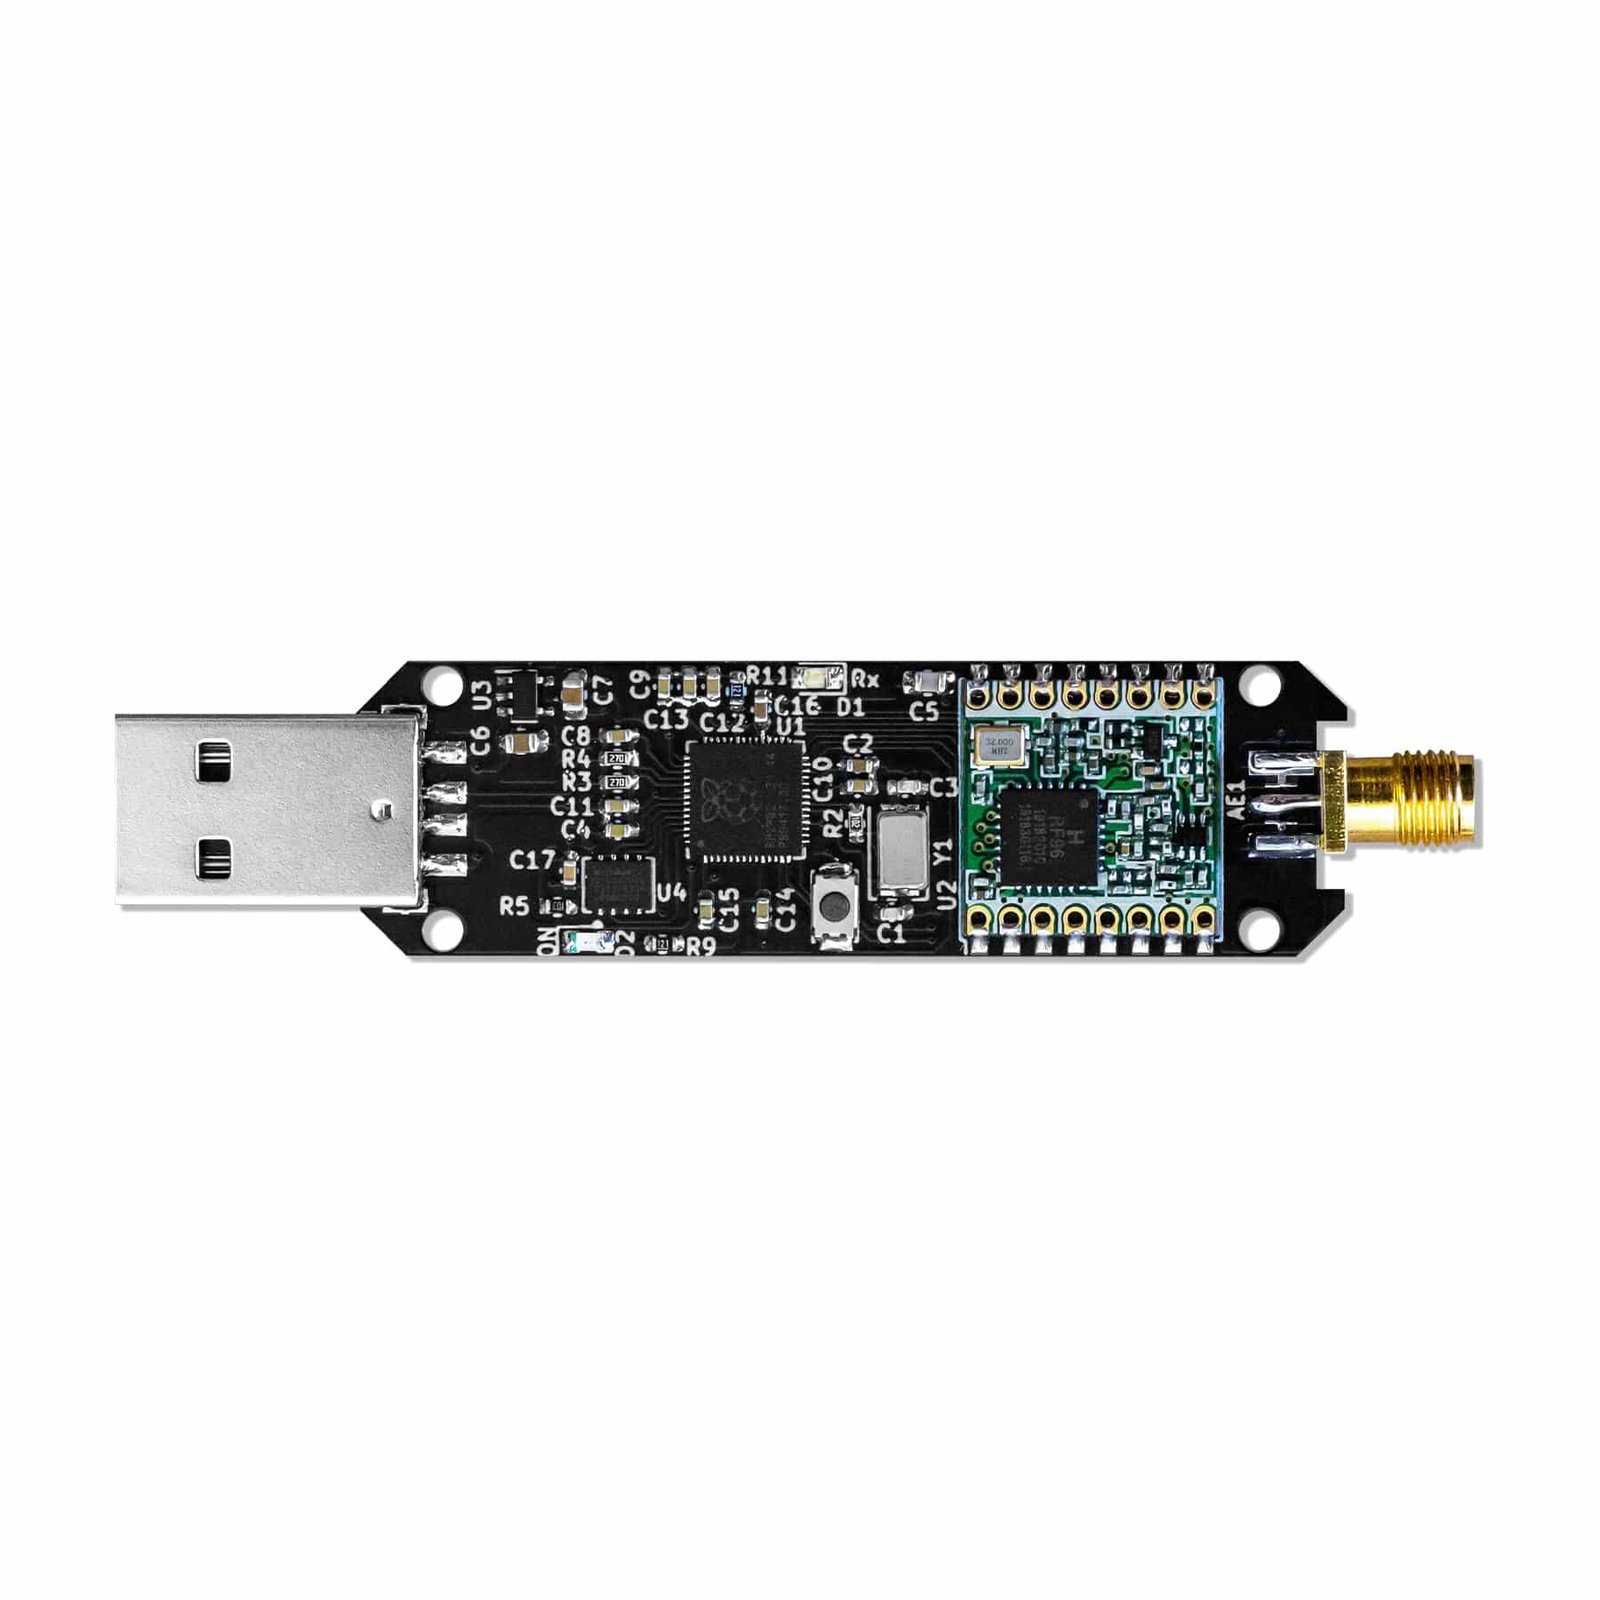
The CatWAN USB Stick is a USB dongle that works as a non-intrusive LoRa/LoRaWAN packet sniffer. It plugs into a USB-A port and captures and logs traffic between LoRa radio nodes over the air, without needing to alter the software running on the devices being monitored. It is a headless, plug-and-play device: there is no on-board screen, only a recessed reset button, and all control and data flow over the USB serial connection. An RFM95W sub-GHz LoRa transceiver supports packet-mode LoRa and LoRaWAN Class A, B and C, at 868 MHz or 915 MHz depending on the variant. The hardware and firmware are open source, published on GitHub under the CERN Open Hardware Licence v1.2 and the GNU AGPL v3.0, with OSHW certification (UID MX000006).
Test a point-to-point LoRa link
Debug a LoRaWAN deployment without touching the nodes
Teach LoRa hands-on in a one-hour workshop
Start in 10 minutes
- Plug the CatWAN USB Stick into a USB port (or press the reset button inside the enclosure if it is not recognized).
- Install the Arduino IDE and add the RP2040 board index URL under File > Preferences > Additional Boards Manager URLs.
- In Boards Manager, install the “Raspberry Pi Pico” package (by Earle F. Philhower, III), then select Tools > Board > Raspberry Pi RP2040 > Raspberry Pi Pico and the correct port.
- Install the required libraries: LoRa (by Sandeep Mistry), MCCI Arduino LoRaWAN, Arduino-SerialCommand and Crypto.
- Download a firmware sketch from the repo’s Fw/ folder (e.g. LoRaSniffer.ino) and compile/upload it.
Optional: reconfigure frequency, spreading factor, bandwidth and more without reflashing, using the built-in LoRa Sniffer CLI serial commands.
Full walkthrough: Set-up wiki page.
| Dimensions | 18 × 12.5 × 4 cm |
|---|---|
| MCU | SAMD21 (legacy), RP2040 (current) |
| Radio module | RFM95W sub-GHz LoRa transceiver |
| Protocol support | LoRa (packet mode), LoRaWAN Class A, LoRaWAN Class B, LoRaWAN Class C |
| Frequency | 868 MHz, 915 MHz |
| Receiver sensitivity | Down to -146 dBm |
| TX power | Adjustable up to +18.5 dBm |
| Estimated range | Up to 15 km (suburban), Up to 5 km (urban) |
| Connector | USB-A (USB 2.1) |
| Power consumption | 140 mA typical (TX), 20 mA idle |
| Power regulation | 5V USB input regulated to a 3.3V rail |
| Indicator | User-programmable RX LED |
| Certification | OSHW certified (UID MX000006) |
| SAMD21 (legacy) | RP2040 (current) | |
|---|---|---|
| MCU | Microchip SAMD21 (ARM Cortex-M0+), 48 MHz, single-core | Raspberry Pi RP2040 (dual ARM Cortex-M0+), up to 133 MHz, dual-core |
| Flash | 256 KB onboard | 16 MB external flash chip |
| RAM | 32 KB SRAM | 264 KB SRAM |
| Firmware update | Double-tap reset to enter bootloader, drag-drop a v2.x .uf2 file | Short the JP1 pads to enter bootloader, drag-drop the RP2040 .uf2 (sender or receiver build) |
| Frequency options | 868 MHz or 915 MHz | 868 MHz or 915 MHz |
What function does this device have?
Is this a remote-monitoring RS232 LoRaWAN adapter?
You may also like…